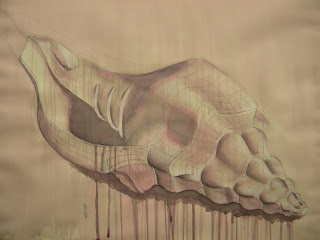
 I am so excited to be doing my final shell drawing. Drawing this final shell angle was hard to do. This is the first time I drew the shell top closest to me. It was not easy angle. I was having the biggest problem trying to figure out how the back of the shell went. I did get it finished with help from Amy. There is some big black lines that I could not get rid of. But, that was my fault for not using the hard charcoal pencil.
The second and worst part was trying to do the ink wash. I started very light like I did last time. The light wash was looking to pink so then I added more and more black so it turned to be a purple. This is where everything went down hill. Adding all the black made the shell look very flat in the middle of the shell. The top point turned out well and so did the bottom of the shell. I tried using more white charcoal but that did not help much. Then to make things worse I did a wash on the back and it made those parts look darker. Now I know that when applying ink to a shell I will look at my third drawing to help me not go to dark.


Great process and pictures! I love the way your final shell turned out. Nice blog post!
ReplyDelete